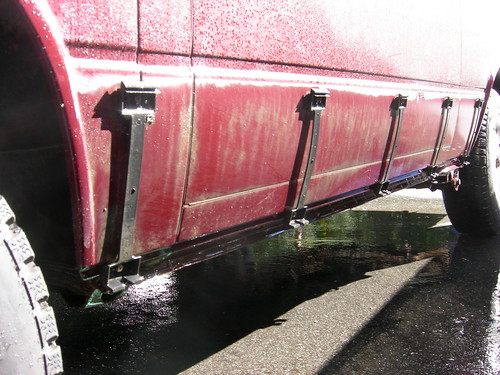
After the first power spray wash cleaning, dirt still remained. It took a little tire grease to loosen up the dirt, then a coat of rubbing compound and wax.
There was more mud on the removed side trim piece than the body, over 15 years worth!
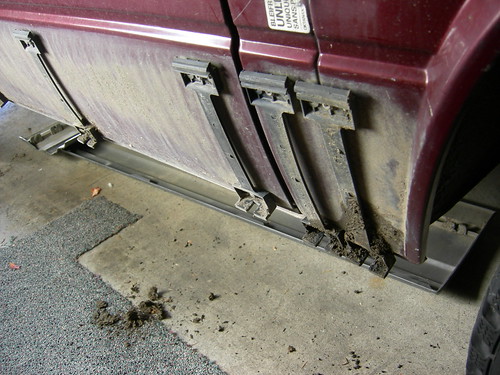
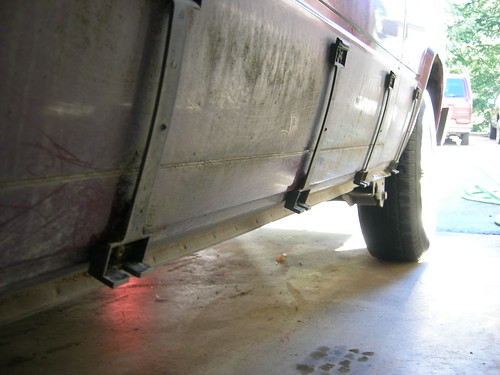
Surprisingly, there was more mud than rust underneath the side trim. The Side trim is attached with vertical screws to these mounting brackets. The mounting brackets are riveted to the body of the Vanagon.
Thanks for this posting. I'm removing the side trim from my front doors and your photos helped me see how to take them off and what to expect.
ReplyDeleteI'm wondering:
What size drill bit did you use to remove the rivets?
Have you filled the rivet holes? If so, how? I'm considering using grommets as a short-term solution.
Thanks again.