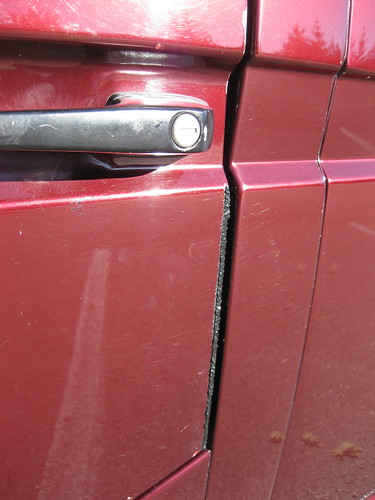
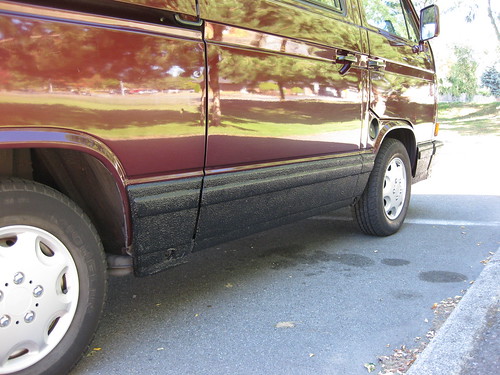
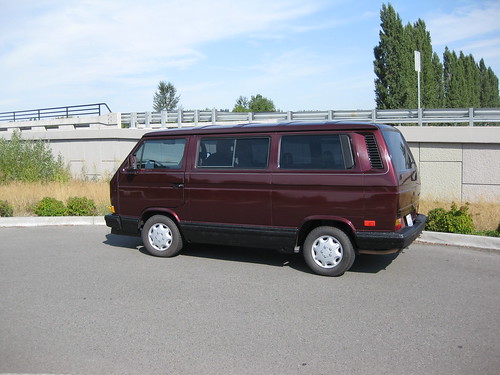
Here is are some photos of the Vanagon after all coats of bed liner were applied. I added a small strip on the drivers door to cover up some dings, and to provide future door guard protection.
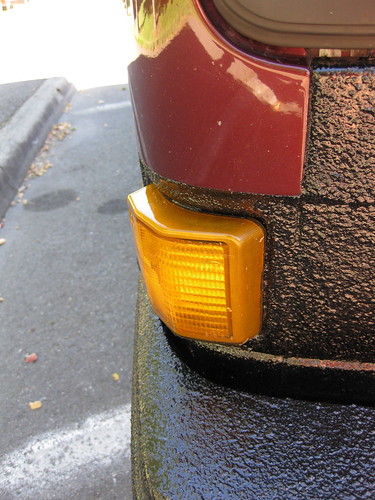
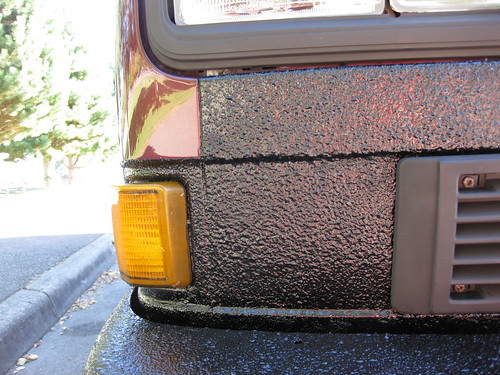
The front grills were painted in flat black barbecue paint. My first impression of the newly painted trim panels and bumpers was I hated it. It seemed too glossy, and created an optical effect that there were bald spots in the bed liner paint as there were during the first coat of bed liner. Another grievance was it appeared too chunky. This is the norm for rolled on, manual applied bed liners.
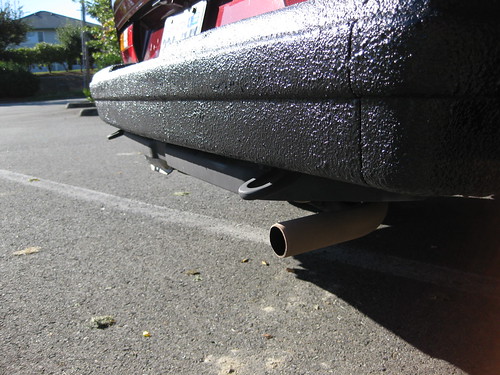
This project took place this past summer. The trim and bumpers have eased up on their gloss and are more of a matte finish now. I am pleased with the outcome. The overall look of the van is different. All of the panels and bumpers took two coats. There was just enough in two 1 Gallon cans of Herculiner to complete the job.
The DIY method was much less expensive (under $200) than refinishing the panels, or taking them in to a commercial spray on bed liner shop like LineX or Rhino Liner. The next project will be using Herculiner on the inside metal panels which I previously used Peel And Seal for sound dampening.
The front grills were painted in flat black barbecue paint. My first impression of the newly painted trim panels and bumpers was I hated it. It seemed too glossy, and created an optical effect that there were bald spots in the bed liner paint as there were during the first coat of bed liner. Another grievance was it appeared too chunky. This is the norm for rolled on, manual applied bed liners.
This project took place this past summer. The trim and bumpers have eased up on their gloss and are more of a matte finish now. I am pleased with the outcome. The overall look of the van is different. All of the panels and bumpers took two coats. There was just enough in two 1 Gallon cans of Herculiner
The DIY method was much less expensive (under $200) than refinishing the panels, or taking them in to a commercial spray on bed liner shop like LineX or Rhino Liner. The next project will be using Herculiner
That looks much better than the original did! I've never considered buying a carat because of the plastic and now I know the next time I'm considering it I have a cosmetic solution. Thanks!
ReplyDeleteBTW, your blog is exactly the pay-it-forward type I wanted my Sprinter blog to be.
Thanks for the great info.
Just found your page and shocked at how horrible that looks. Like you went through a tar pit LOL.
ReplyDeleteShould have used a textured spray paint.
Anyway, thanks for showing us what not to do.